


 fabric covering, 20 mm diameter")


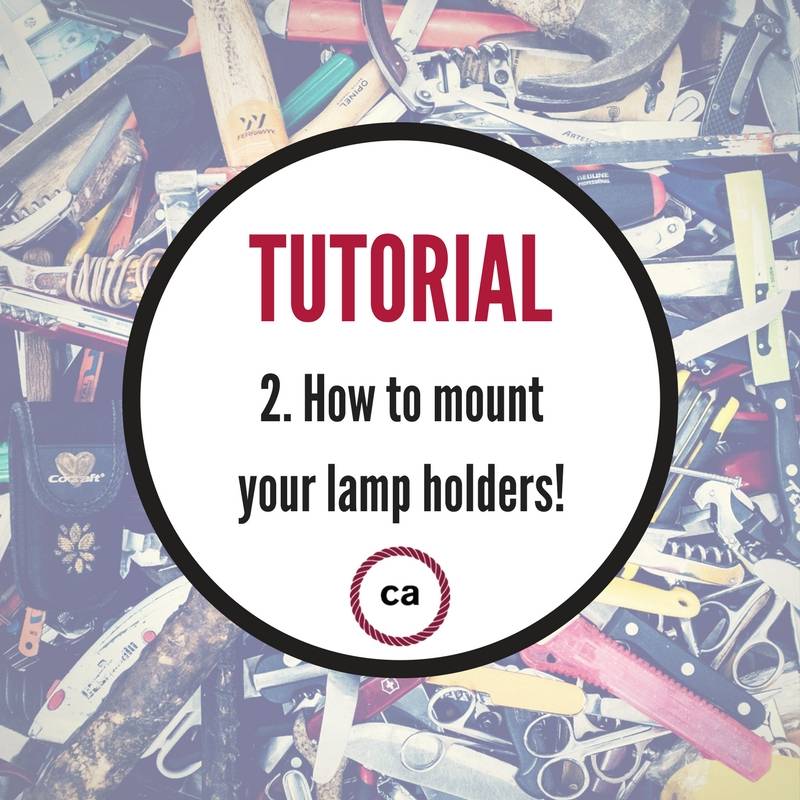
How to wire a light socket for pendant lights
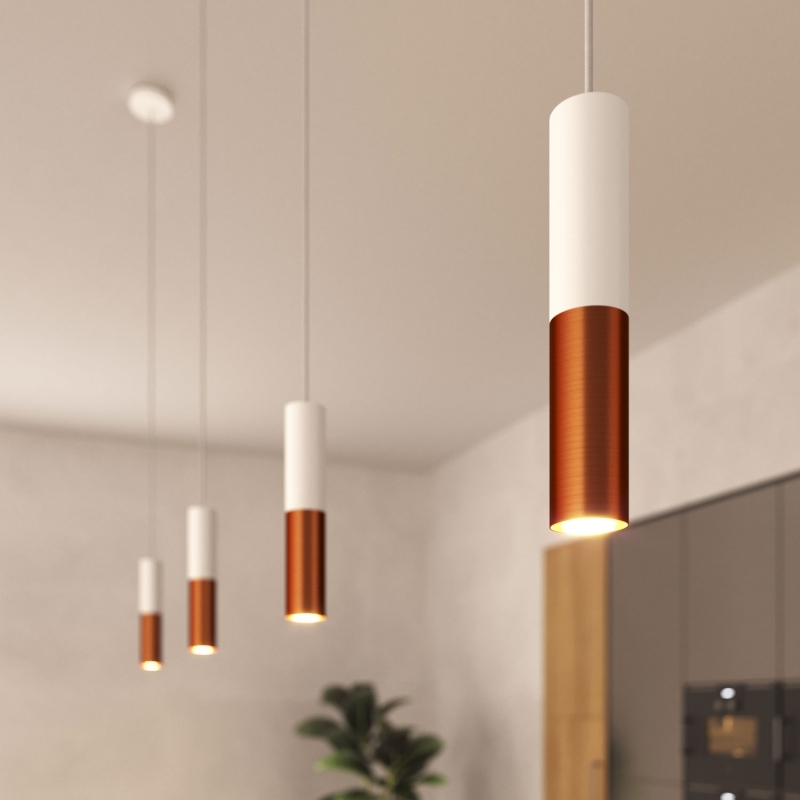
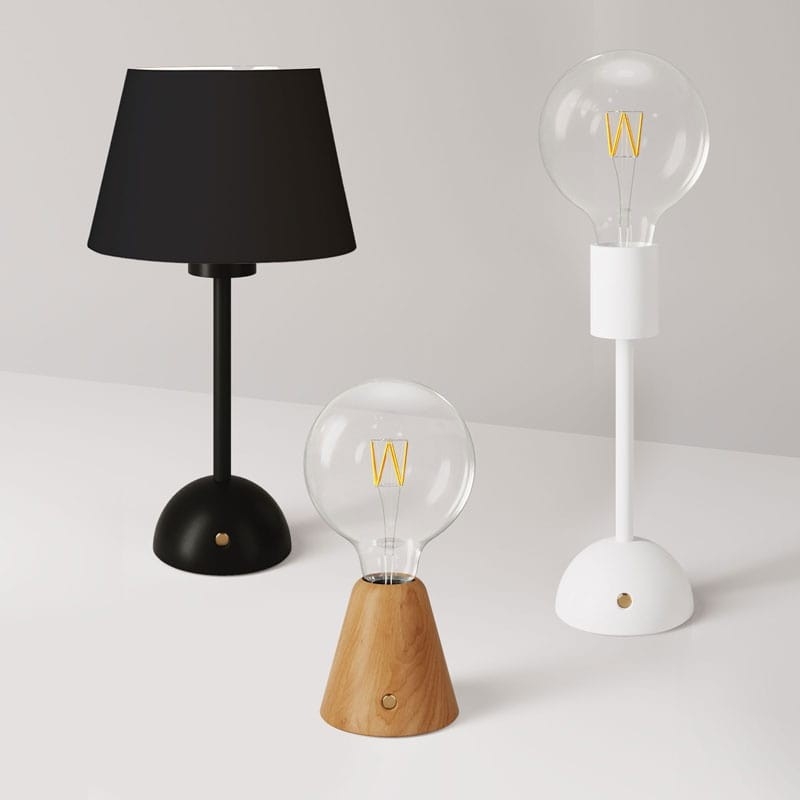
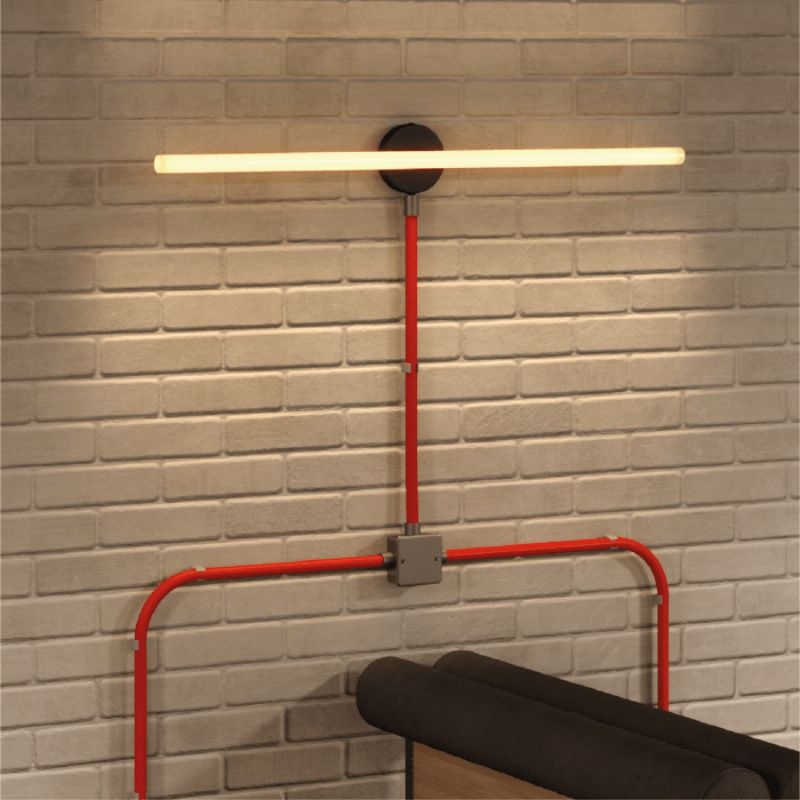
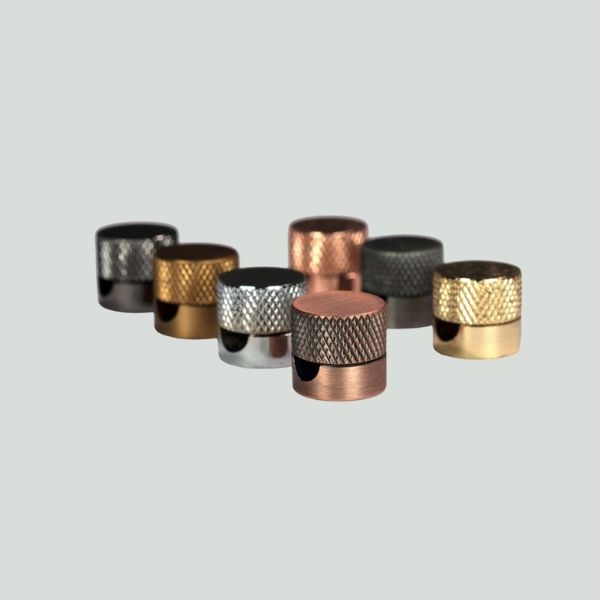
In the last month we’ve added many new products to our catalogue, and many new ideas to allow you to undertake your interior design projects! New fabric cables, in many different finishes and patterns, new LED light bulbs and many new lamp shades in various designs and shapes: there’s something for everybody! We haven’t forgotten about our tutorials, though, and in fact, today we have a new one for you. This one is all about the element that connects each element of your lamp: in fact, the cable, lampshade and light bulb all have to be connected to one thing: the lampholder !
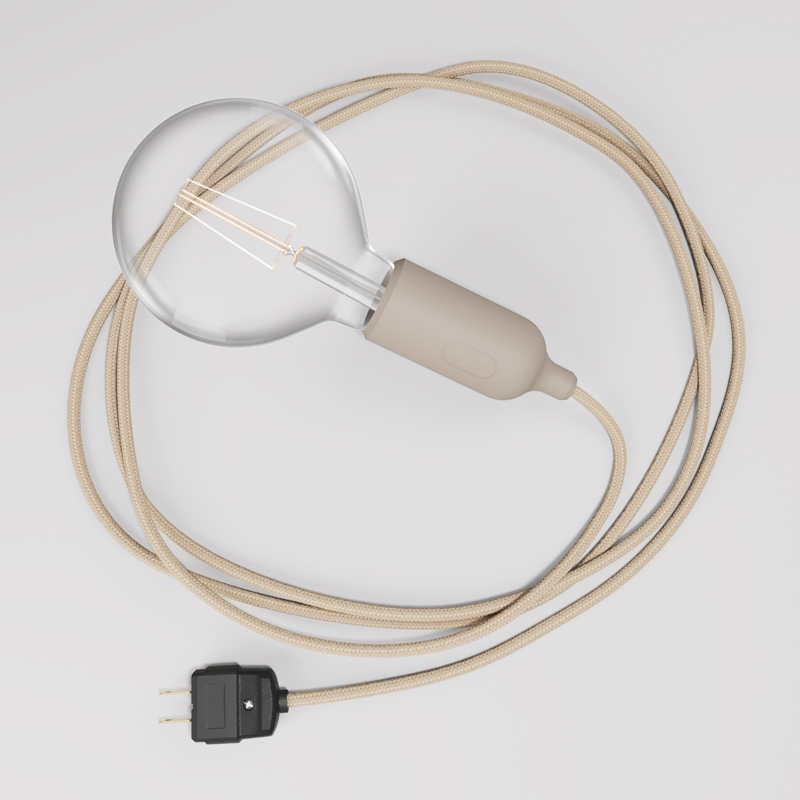
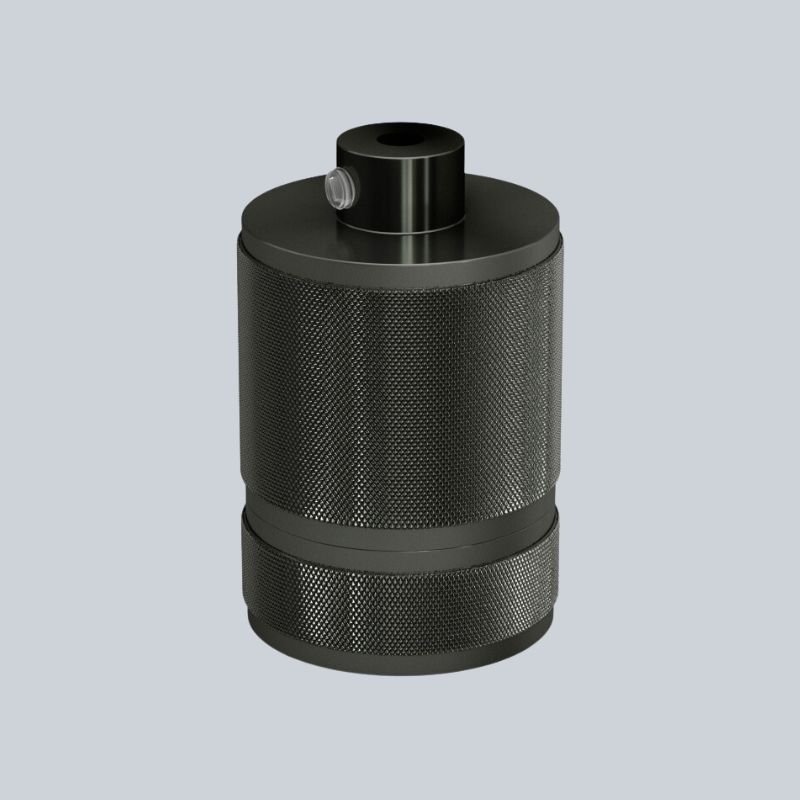
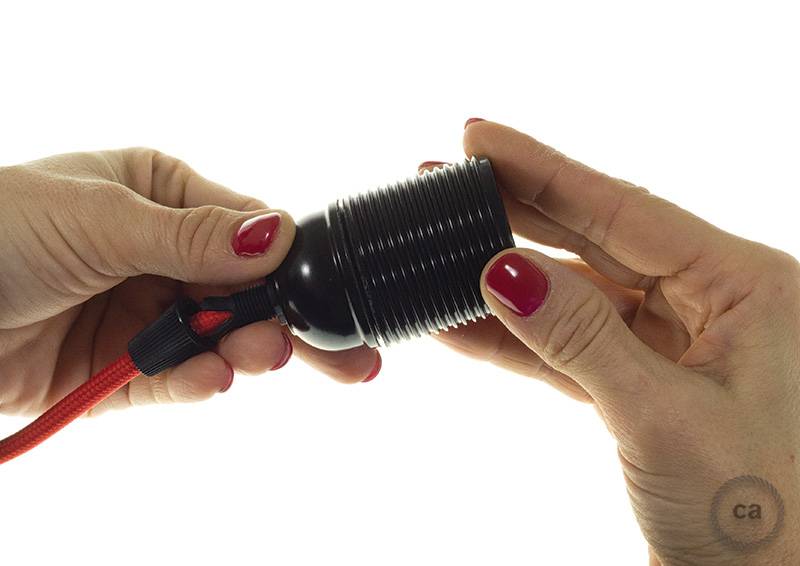
For our guide of the day, we’ll be talking about alampholder with a threaded body and two ferrules, made out of thermoplastic material, all available, along with many other products, in our store.
For our guide of the day, we’ll be talking about a
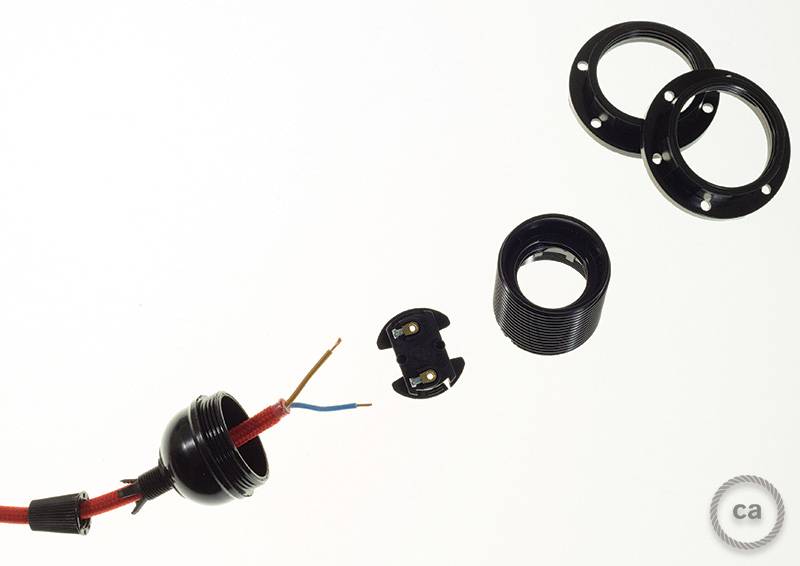

Often, many of you ask us for information on how to connect a lampholder to our cables and create a rudimentary lamp. It’s not too complicated, and today you’ll find out how! The first step is to take apart the lampholder and separate all its parts. Unscrew the two ferrules from the threaded body, that you’ll need later to fasten the lampshade and the threaded body. What you’ll have is the back end of the lampholder , that contains all the connections and that is connected to the cable retainer when mounted. To separate the contacts from this part, it is necessary to intervene on the antiloosening mechanism, that prevents the upper ferrule from unscrewing upon removal, thus preventing the light bulb from coming undone.
To complete this task, it is sufficient to raise the metal tab on the interior. Help yourself with a screwdriver, until you’ve surpassed the plastic block on thelampholder : easy, right? Remember to complete this operation while the lamp is COMPLETELY UNPLUGGED FROM AN ELECTRIC SOURCE for your safety.
At this point, unscrew the cable retainer and insert the electric cable that you previously peeled (if you don’t remember how to do this, just check out our guide on how to peel fabric cables!), in the clamps of the connections.
To complete this task, it is sufficient to raise the metal tab on the interior. Help yourself with a screwdriver, until you’ve surpassed the plastic block on the
At this point, unscrew the cable retainer and insert the electric cable that you previously peeled (if you don’t remember how to do this, just check out our guide on how to peel fabric cables!), in the clamps of the connections.
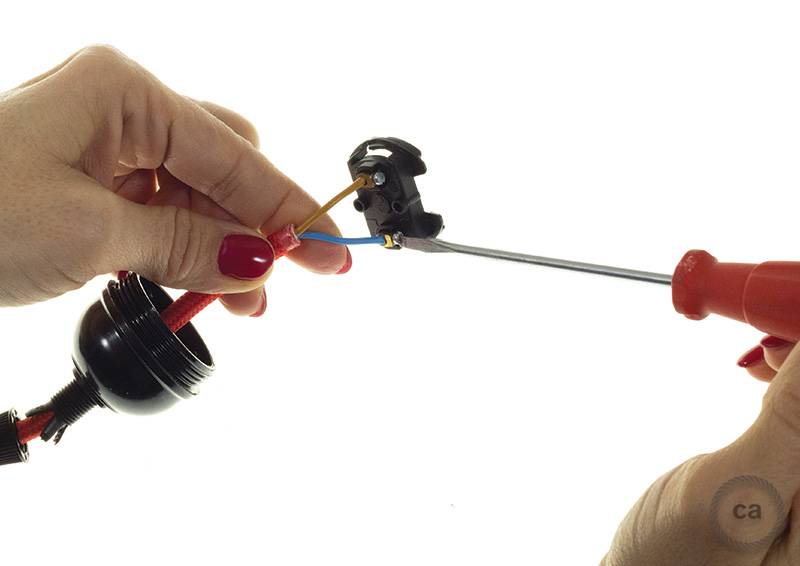
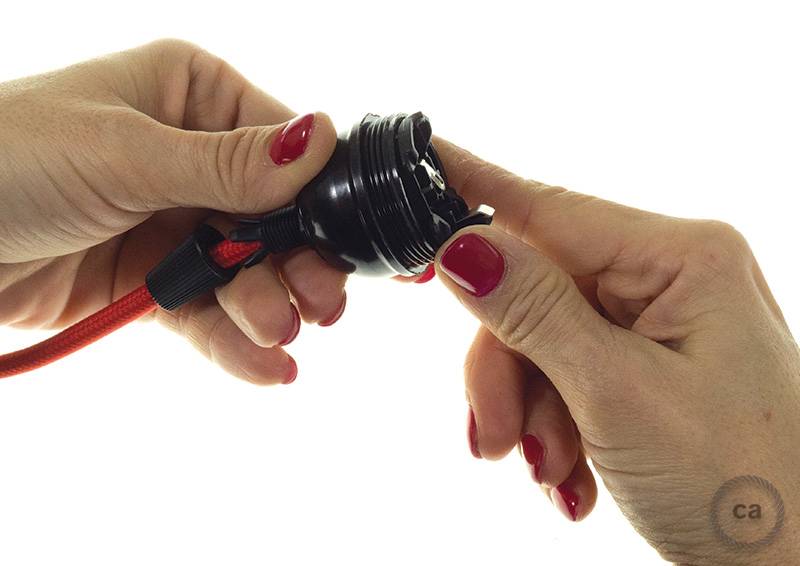
Once you’ve inserted the electric cables, peeled back and exposing the copper inner filaments, into the clamps, tighten the screws on the clamps with your flat-head screwdriver. Is everything ok? The hardest part is over! Reposition the connections in the back of the lampholder , taking care to snap the antiloosening mechanism back into place so that all the components are safe and secure, by rotating the block in the opposite direction from before when you unblocked the lampholder .
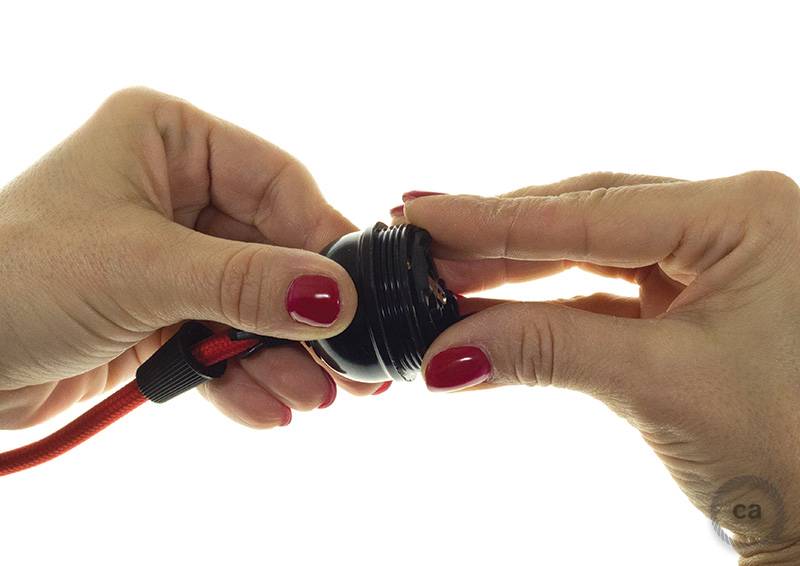
The job is almost done and once the fabric cable is in place, the lampholder is almost ready. Connect the connections to the back part and rescrew the cable block so that it is secure and the threaded body: you’re now free to screw the light bulb on and give new light to your home!
Is everything clear? Did you have any problems? Let us know in the comments and tell us what tutorials you’d like in the future!
Is everything clear? Did you have any problems? Let us know in the comments and tell us what tutorials you’d like in the future!
